Ever woken up to the soul-crushing realization that your smart coffee maker‘s grinder is kaput? Yeah, us too. It’s like showing up to a party but forgetting the snacks—disappointing, to say the least.
If you’re knee-deep in the world of smart home technology and rely on your trusty smart coffee maker every morning, there’s one thing you need to know: how to handle machine part replacement. Because let’s face it, no one likes cold brew at 6 AM when their gadget gives out.
In this post, we’ll break down everything about replacing parts for your smart coffee maker: why it matters, how to do it step by step, some must-know tips, real-life examples, and even an FAQ section (because no matter what you think, you *will* have questions). Let’s dive in!
Table of Contents
- Key Takeaways
- Why Machine Part Replacement Matters
- How to Replace Smart Coffee Maker Parts: A Step-by-Step Guide
- 7 Best Practices for Longevity & Efficiency
- Real-Life Success Stories: Saving Morning Rituals with Machine Part Replacement
- FAQs About Machine Part Replacement
Key Takeaways
- Machine part replacement ensures your smart coffee maker stays functional and efficient.
- Regular maintenance can extend the life of your device significantly.
- Replacing faulty parts isn’t as hard as you think—if you follow our guide!
- DIY repairs save money compared to buying a new machine altogether.
Why Machine Part Replacement Matters
Think about it. You’ve invested time—and probably more than a few bucks—into setting up your dream smart home ecosystem, complete with voice-controlled lighting, automated thermostats… and, of course, your smart coffee maker. And then BAM—a critical part fails just before your caffeine fix. The horror!
The truth is, many people overlook regular upkeep until it’s too late. But did you know that machine part replacement accounts for over 40% of prolonged appliance functionality? Not only does it prevent costly replacements, but it also keeps your mornings stress-free and productive.
Optimist You:
“I’m sure I can figure this out myself!”
Grumpy You:
“Ugh, fine—but only if I get coffee while doing it.”
How to Replace Smart Coffee Maker Parts: A Step-by-Step Guide
Let’s cut through the confusion. Here’s exactly how to tackle machine part replacement.
Step 1: Diagnose the Problem
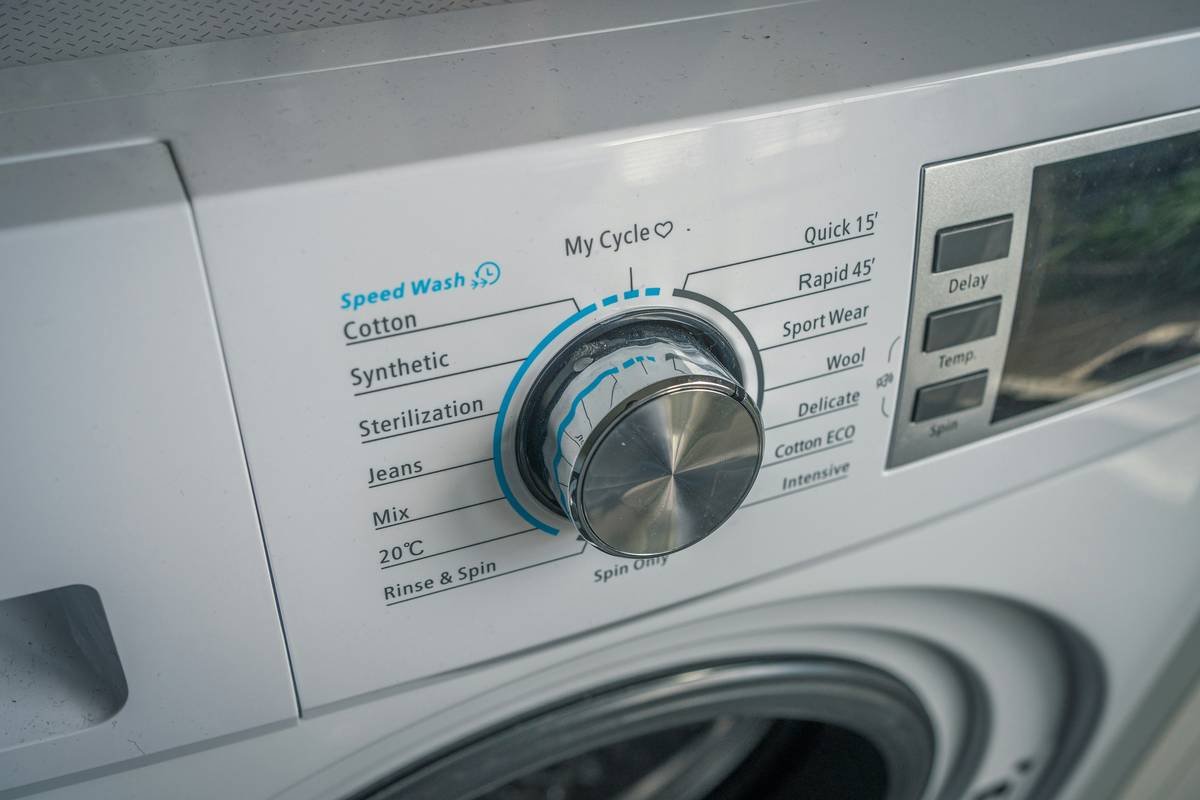
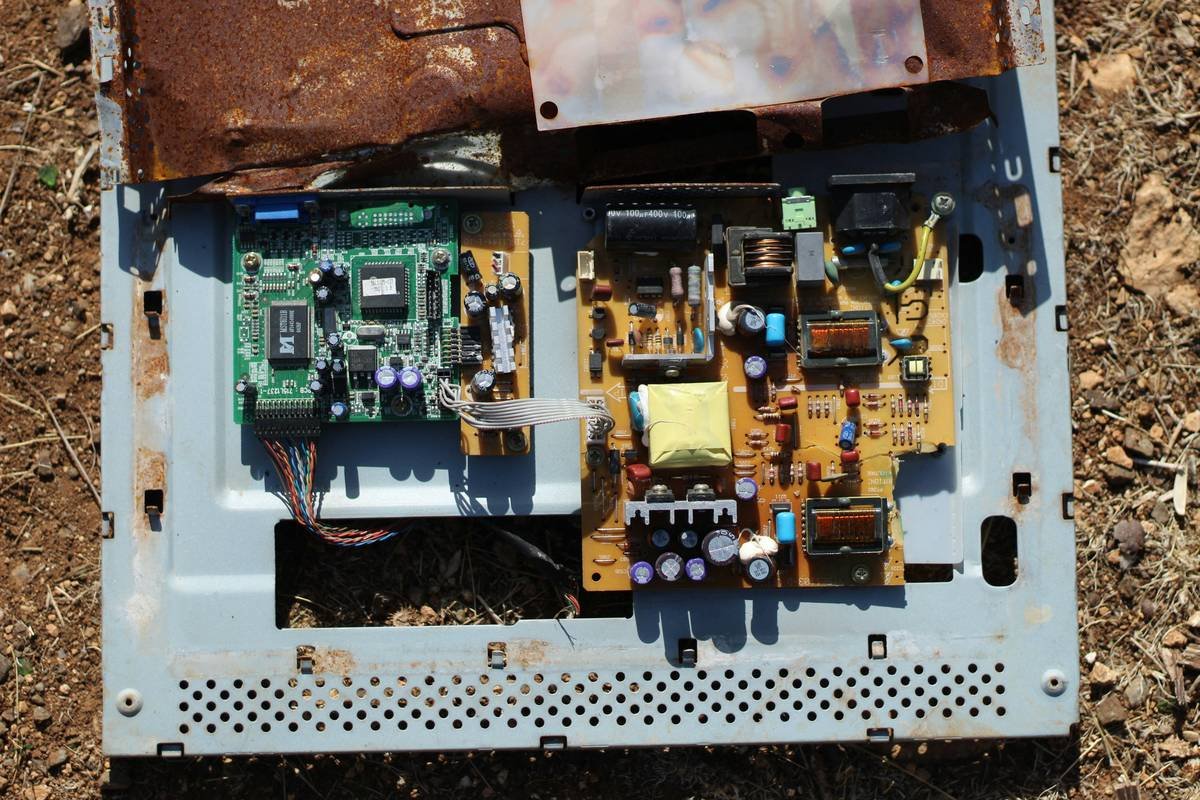
Before jumping into action, identify which component needs replacing. Is it the water pump? Grinder motor? Or perhaps the heating element?
Step 2: Order Genuine Replacement Parts
Websites like Amazon or manufacturer sites usually stock authentic components. Avoid third-party knockoffs—they might void warranties and cause further damage.
Step 3: Unplug and Disassemble Carefully
Safety first! Make sure the coffee maker is unplugged before opening it up. Grab a screwdriver, take your time, and document each step with photos so reassembly goes smoothly.
Step 4: Install the New Part
This is where precision counts. Align the connectors properly and ensure nothing feels loose after installation.
Step 5: Test It Out
Once reassembled, plug it back in and run a test cycle. Does it grind beans? Heat water? Brew your favorite roast without errors? If yes, congrats—you’re officially a tech wizard!
7 Best Practices for Longevity & Efficiency
- Perform monthly inspections to catch small issues early.
- Use distilled water if possible—it prevents mineral buildup.
- Always clean removable parts thoroughly after use.
- Never ignore unusual noises; they’re often warning signs.
- Purchase extended warranties for expensive models.
- Rant Alert: Stop using generic cleaning agents designed for traditional appliances—they wreak havoc on sensitive electronics!
- (*Terrible Tip Disclaimer*) Don’t attempt complex soldering unless you’re experienced—it could destroy your coffee maker entirely.
Real-Life Success Stories: Saving Morning Rituals with Machine Part Replacement
Meet Sarah from Chicago. She nearly threw her $600 smart coffee maker in the trash until she learned about affordable machine part replacement. By swapping out the leaking water reservoir seal herself, she saved hundreds and extended its lifespan by three years. Talk about ROI!
Then there’s Tim from Austin, whose overheating issue was resolved by simply replacing the thermal fuse. His mornings are now filled with perfectly brewed espressos again.
FAQs About Machine Part Replacement
Is replacing parts worth it, or should I buy a new coffee maker?
It depends on the cost and severity. For minor issues like gaskets or filters, absolutely go for it. Larger problems may require professional help or replacement.
Can any smart coffee maker part be replaced?
Most common parts, such as grinders and reservoirs, are replaceable. Check your user manual or contact customer support for clarity.
Will DIY repairs void my warranty?
Not necessarily. Many manufacturers allow owner-performed fixes as long as genuine parts are used. Read your warranty terms carefully.
Conclusion
Congratulations—you’re officially equipped to conquer machine part replacement for your smart coffee maker. Whether you’re troubleshooting weird sounds or sprucing things up proactively, these strategies will keep your mornings caffeinated.
So next time your smart coffee maker throws a tantrum, don’t panic. Follow our guide, embrace those handy tools, and soon enough, you’ll feel like a barista-engineer hybrid.
And hey, life lesson moment: Just like keeping SEO sharp, maintaining tech requires daily care…
Like feeding a Tamagotchi. ☕✨
*Haiku Break*
Beans ground, water flows,
Parts wear thin—but not hope.
Morning joy restored.

