Ever stared at your smart coffee maker, wondering why the brew tastes… off? Spoiler: It’s probably not cleaning itself.
In this guide, we’re diving deep into coffee machine interior cleaning—the secret sauce to better coffee and a longer-lasting smart device. You’ll learn why neglecting this task is sabotaging your mornings, how to do it step-by-step, and pro tips you won’t find in the user manual (plus one terrible tip you should *never* follow).
Table of Contents
- Why Clean Your Smart Coffee Maker?
- Step-by-Step Guide to Coffee Machine Interior Cleaning
- Pro Tips & Best Practices
- Real-World Examples of Neglect vs. Maintenance
- FAQs About Coffee Machine Cleaning
Key Takeaways
- Your smart coffee maker needs regular interior cleaning to perform optimally.
- Neglected machines can harbor mold, bacteria, and mineral buildup.
- A simple vinegar solution can work wonders—but there are smarter ways too!
- We’ll share expert steps, tools, and even confessional fails so you don’t repeat them.
Why Clean Your Smart Coffee Maker?
“Optimist You:” “My smart coffee maker cleans itself, right?”
“Grumpy Me:” “Ugh, nope. That’s just marketing fluff.”
Here’s the reality: Even though modern smart coffee makers come with self-cleaning settings, they’re more like an assistant than a miracle worker. Over time, minerals from water, oils from coffee grounds, and stray particles accumulate inside. Without proper maintenance, these residues can ruin your coffee’s flavor, clog internal mechanisms, and create hygiene nightmares.
Case in Point: Remember that time I forgot to descale my Smarter Coffee 2.0 for three months straight? Yeah, let’s just say the brew started tasting less like caramel goodness and more like wet socks. Worse still, weird gurgling noises made me think aliens had invaded my kitchen. Turns out, it was mineral deposits choking the system. Lesson learned.

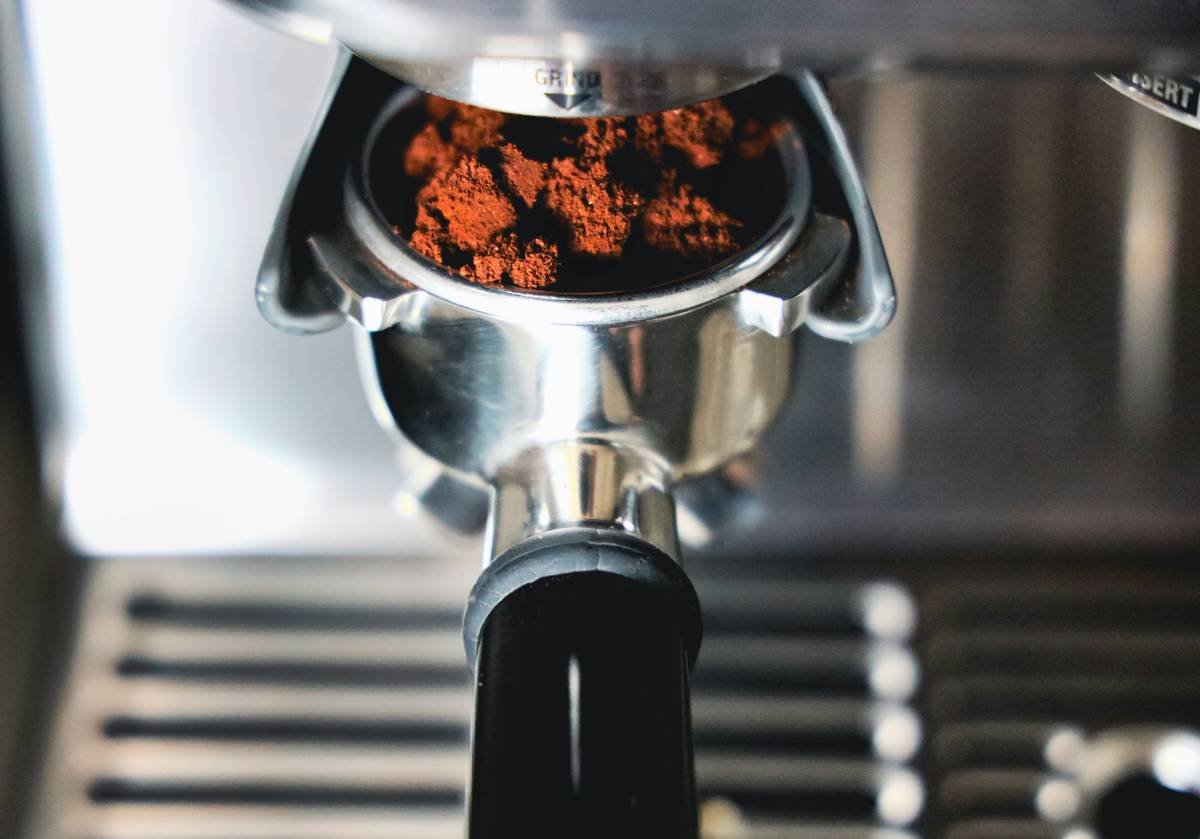
Step-by-Step Guide to Coffee Machine Interior Cleaning
Let’s get down to business. Here’s exactly how to clean your smart coffee maker’s guts without losing your sanity—or warranty.
Step 1: Gather Supplies
- Vinegar (white distilled)
- Filtered water
- An old toothbrush (dedicated to cleaning)
- Microfiber cloth
- A small bowl of lemon juice + baking soda (optional but highly recommended)
Step 2: Run a Vinegar Cycle
Mix equal parts vinegar and water, pour it into the reservoir, and run a full brew cycle. This dissolves calcium deposits and other nasties lurking within. Pro tip: Do this in a well-ventilated area unless you want your house smelling like a salad dressing factory.
Step 3: Rinse Thoroughly
After the vinegar cycle, run two cycles of plain filtered water to flush out any lingering residue. No one wants their morning cup tasting faintly of pickles.
Step 4: Scrub Removable Parts
Remove detachable components like the drip tray and filter basket. Soak them in warm soapy water, then give ‘em a good scrub with the toothbrush. For stubborn stains, use the lemon-baking soda paste—it’s chef’s kiss effective.
Step 5: Wipe Down Externals
Finally, grab that microfiber cloth and wipe down all external surfaces. Pay special attention to buttons and touchscreens—dust loves hanging out there like it owns the place.
Pro Tips & Best Practices
- Use Filtered Water Always: Hard water accelerates mineral buildup. Switching to filtered water reduces scaling by up to 70%.
- Set Reminders: Add a bi-weekly calendar alert for cleaning. Future-you will thank present-you.
- Leverage Specialty Cleaners: Brands like Urnex offer non-toxic cleaners designed specifically for coffee equipment.
- Avoid This Terrible Tip: DON’T throw random household cleaners into your machine. Bleach might kill germs, but it’ll also murder your coffee’s flavor profile—and potentially damage the machine.
Real-World Examples of Neglect vs. Maintenance
Example 1: The Neglected Brewer
Sarah owned a sleek Breville Precision Brewer. She ignored its care instructions entirely until black sludge began oozing from the spout. A technician later told her she could’ve avoided $200+ repairs if she’d cleaned monthly.
Example 2: The Diligent Cleaner
Jake swears by his Nespresso VertuoPop because of its stellar performance. Every month, he spends 15 minutes running a descaling cycle and giving it a quick scrub. “It’s been churning out perfect cups for over five years,” he says proudly.
FAQs About Coffee Machine Cleaning
How often should I clean my smart coffee maker?
Ideally, perform a light rinse after every use and deep clean every two weeks.
Can I use tap water instead of filtered water?
Technically, yes—but expect faster mineral buildup. Filtered water saves hassle long-term.
What if my machine has a built-in filter?
Glad you asked. While helpful, internal filters don’t replace regular cleaning routines—they complement them.
Is professional descaling worth it?
Only if you lack time or confidence. Most models are DIY-friendly; refer to the user manual.
Conclusion
Cleaning your coffee machine interior isn’t glamorous, but it’s essential for peak performance and delicious brews. From debunking self-cleaning myths to walking you through vinegar magic, we’ve armed you with everything needed to tackle this chore like a champ.
So go ahead, fire up that machine knowing you’ve got the know-how. And remember: Consistency beats perfection every time. Cheers to tech-savvy, squeaky-clean mornings!
P.S. Just like Tamagotchis needed daily feeding, your smart coffee maker craves routine TLC. Keep it happy, and it’ll return the favor—one flawless cup at a time. 🫖☕️

