
Ever woken up groggy, only to find your smart coffee maker blinking an error code because you forgot to replace the coffee filter? Yeah, us too. It’s one of those mornings where technology—a supposed savior—feels more like a cruel prank. But here’s the good news: we’re about to make “replacing coffee filters” in your smart coffee maker stress-free and almost fun.
In this post, we’ll explore why replacing coffee filters matters for optimal brew performance (spoiler: it affects taste and machine longevity), step-by-step instructions on how to do it right, tips for maintaining your smart coffee setup, and real-world examples from people who’ve been there. Oh, and I’ll throw in a rant or two—because let’s face it, no guide is complete without some therapeutic venting.
Table of Contents
- Why Replacing Coffee Filters Matters in Smart Coffee Makers
- Step-by-Step Guide to Replacing Coffee Filters
- Tips for Keeping Your Smart Coffee Maker Happy
- Examples of What Happens When You Skip Filter Replacement
- FAQs About Replacing Coffee Filters
Key Takeaways
- Regularly replacing coffee filters ensures better-tasting coffee and prevents clogs in your smart coffee maker.
- Different smart coffee makers may require specific types of filters—always check compatibility.
- Neglecting filter maintenance can lead to costly repairs or even damage your device permanently.
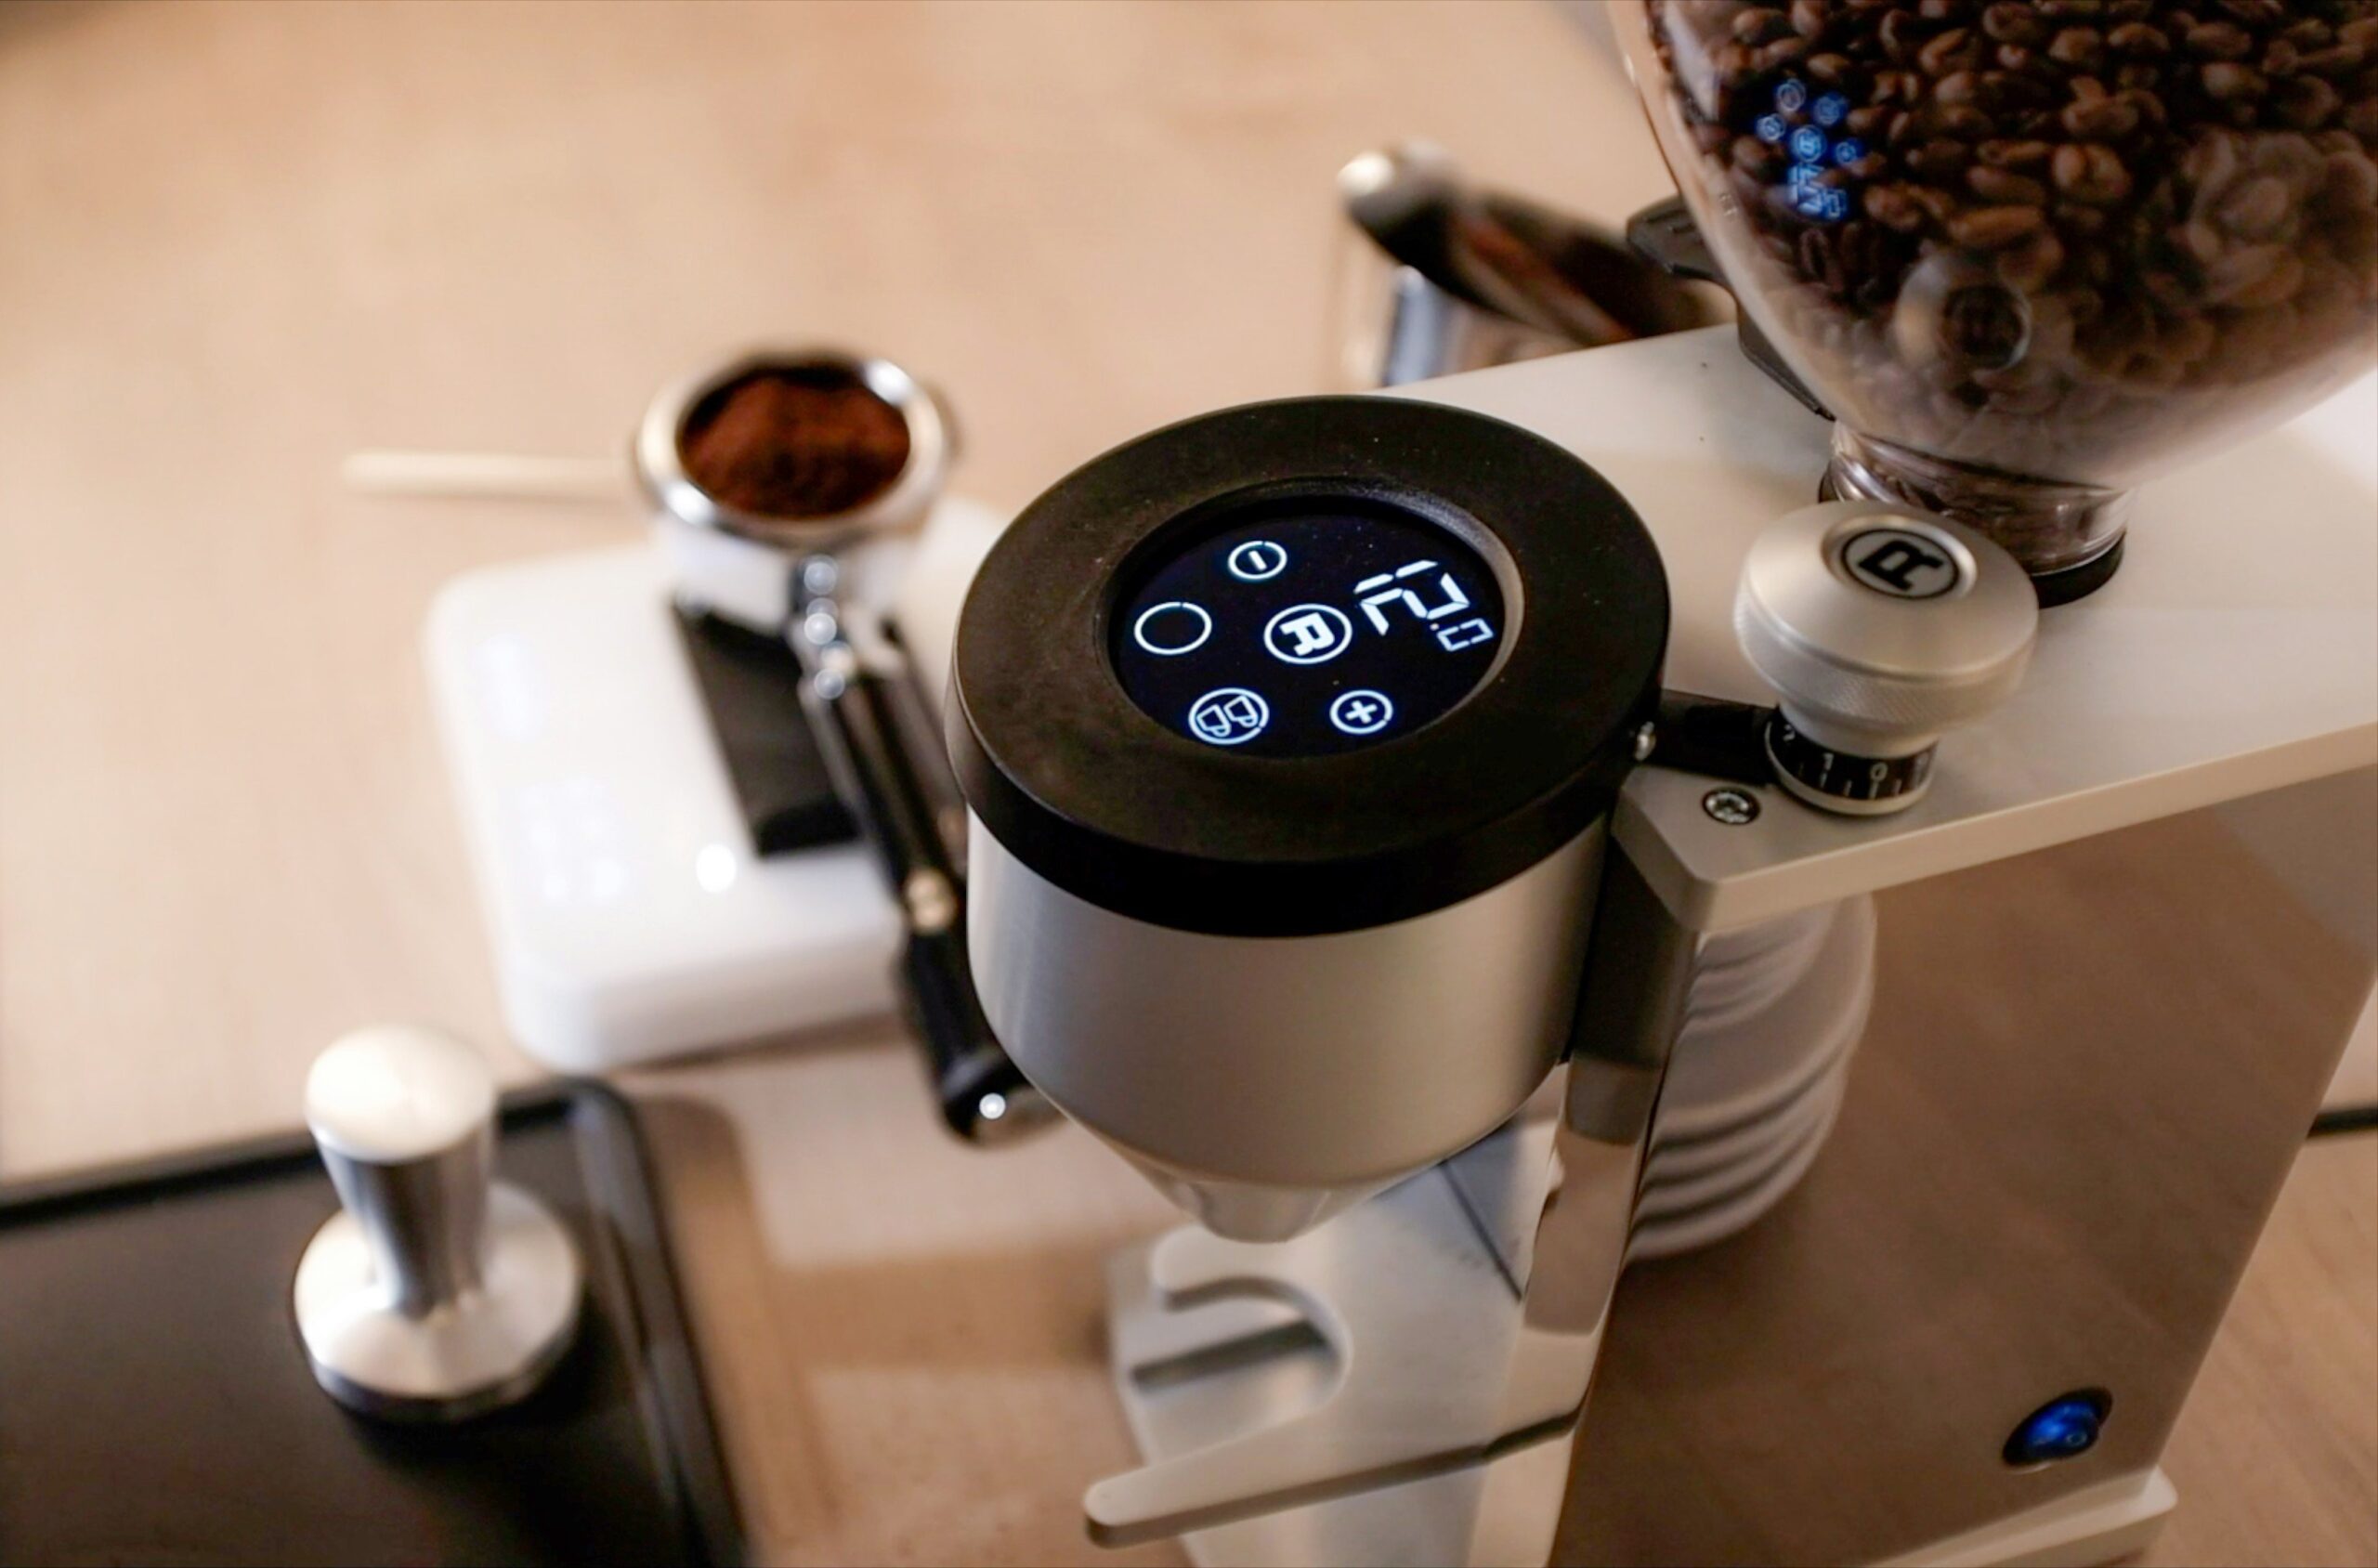
Why Replacing Coffee Filters Matters in Smart Coffee Makers

Let’s get one thing straight: if you think skipping “replacing coffee filters” won’t hurt anyone, congrats—you’re wrong. Picture this: last week, my husband decided he’d try reusing the same paper filter twice (yes, *twice*) just to save time. The result? Bitter coffee, a weird burnt smell wafting from our $400 smart coffee maker, and a very unhappy barista-wife yelling at him across the kitchen.
Here’s the tea (or should I say coffee?): old or improper filters restrict water flow, overheat brewing mechanisms, and leave behind residue that messes with future cups. Not only does this degrade flavor quality, but it also increases wear-and-tear on your beloved appliance. In short, neglecting filter replacement is like driving a car without oil—it works fine until it *doesn’t.*
Step-by-Step Guide to Replacing Coffee Filters
Optimist You:
“This’ll take five minutes tops!”
Grumpy Me:
“Ugh, fine—but only if coffee’s involved.”
Kidding aside, follow these steps to master the art of replacing coffee filters:
- Step 1: Power Off Your Machine. Safety first, folks!
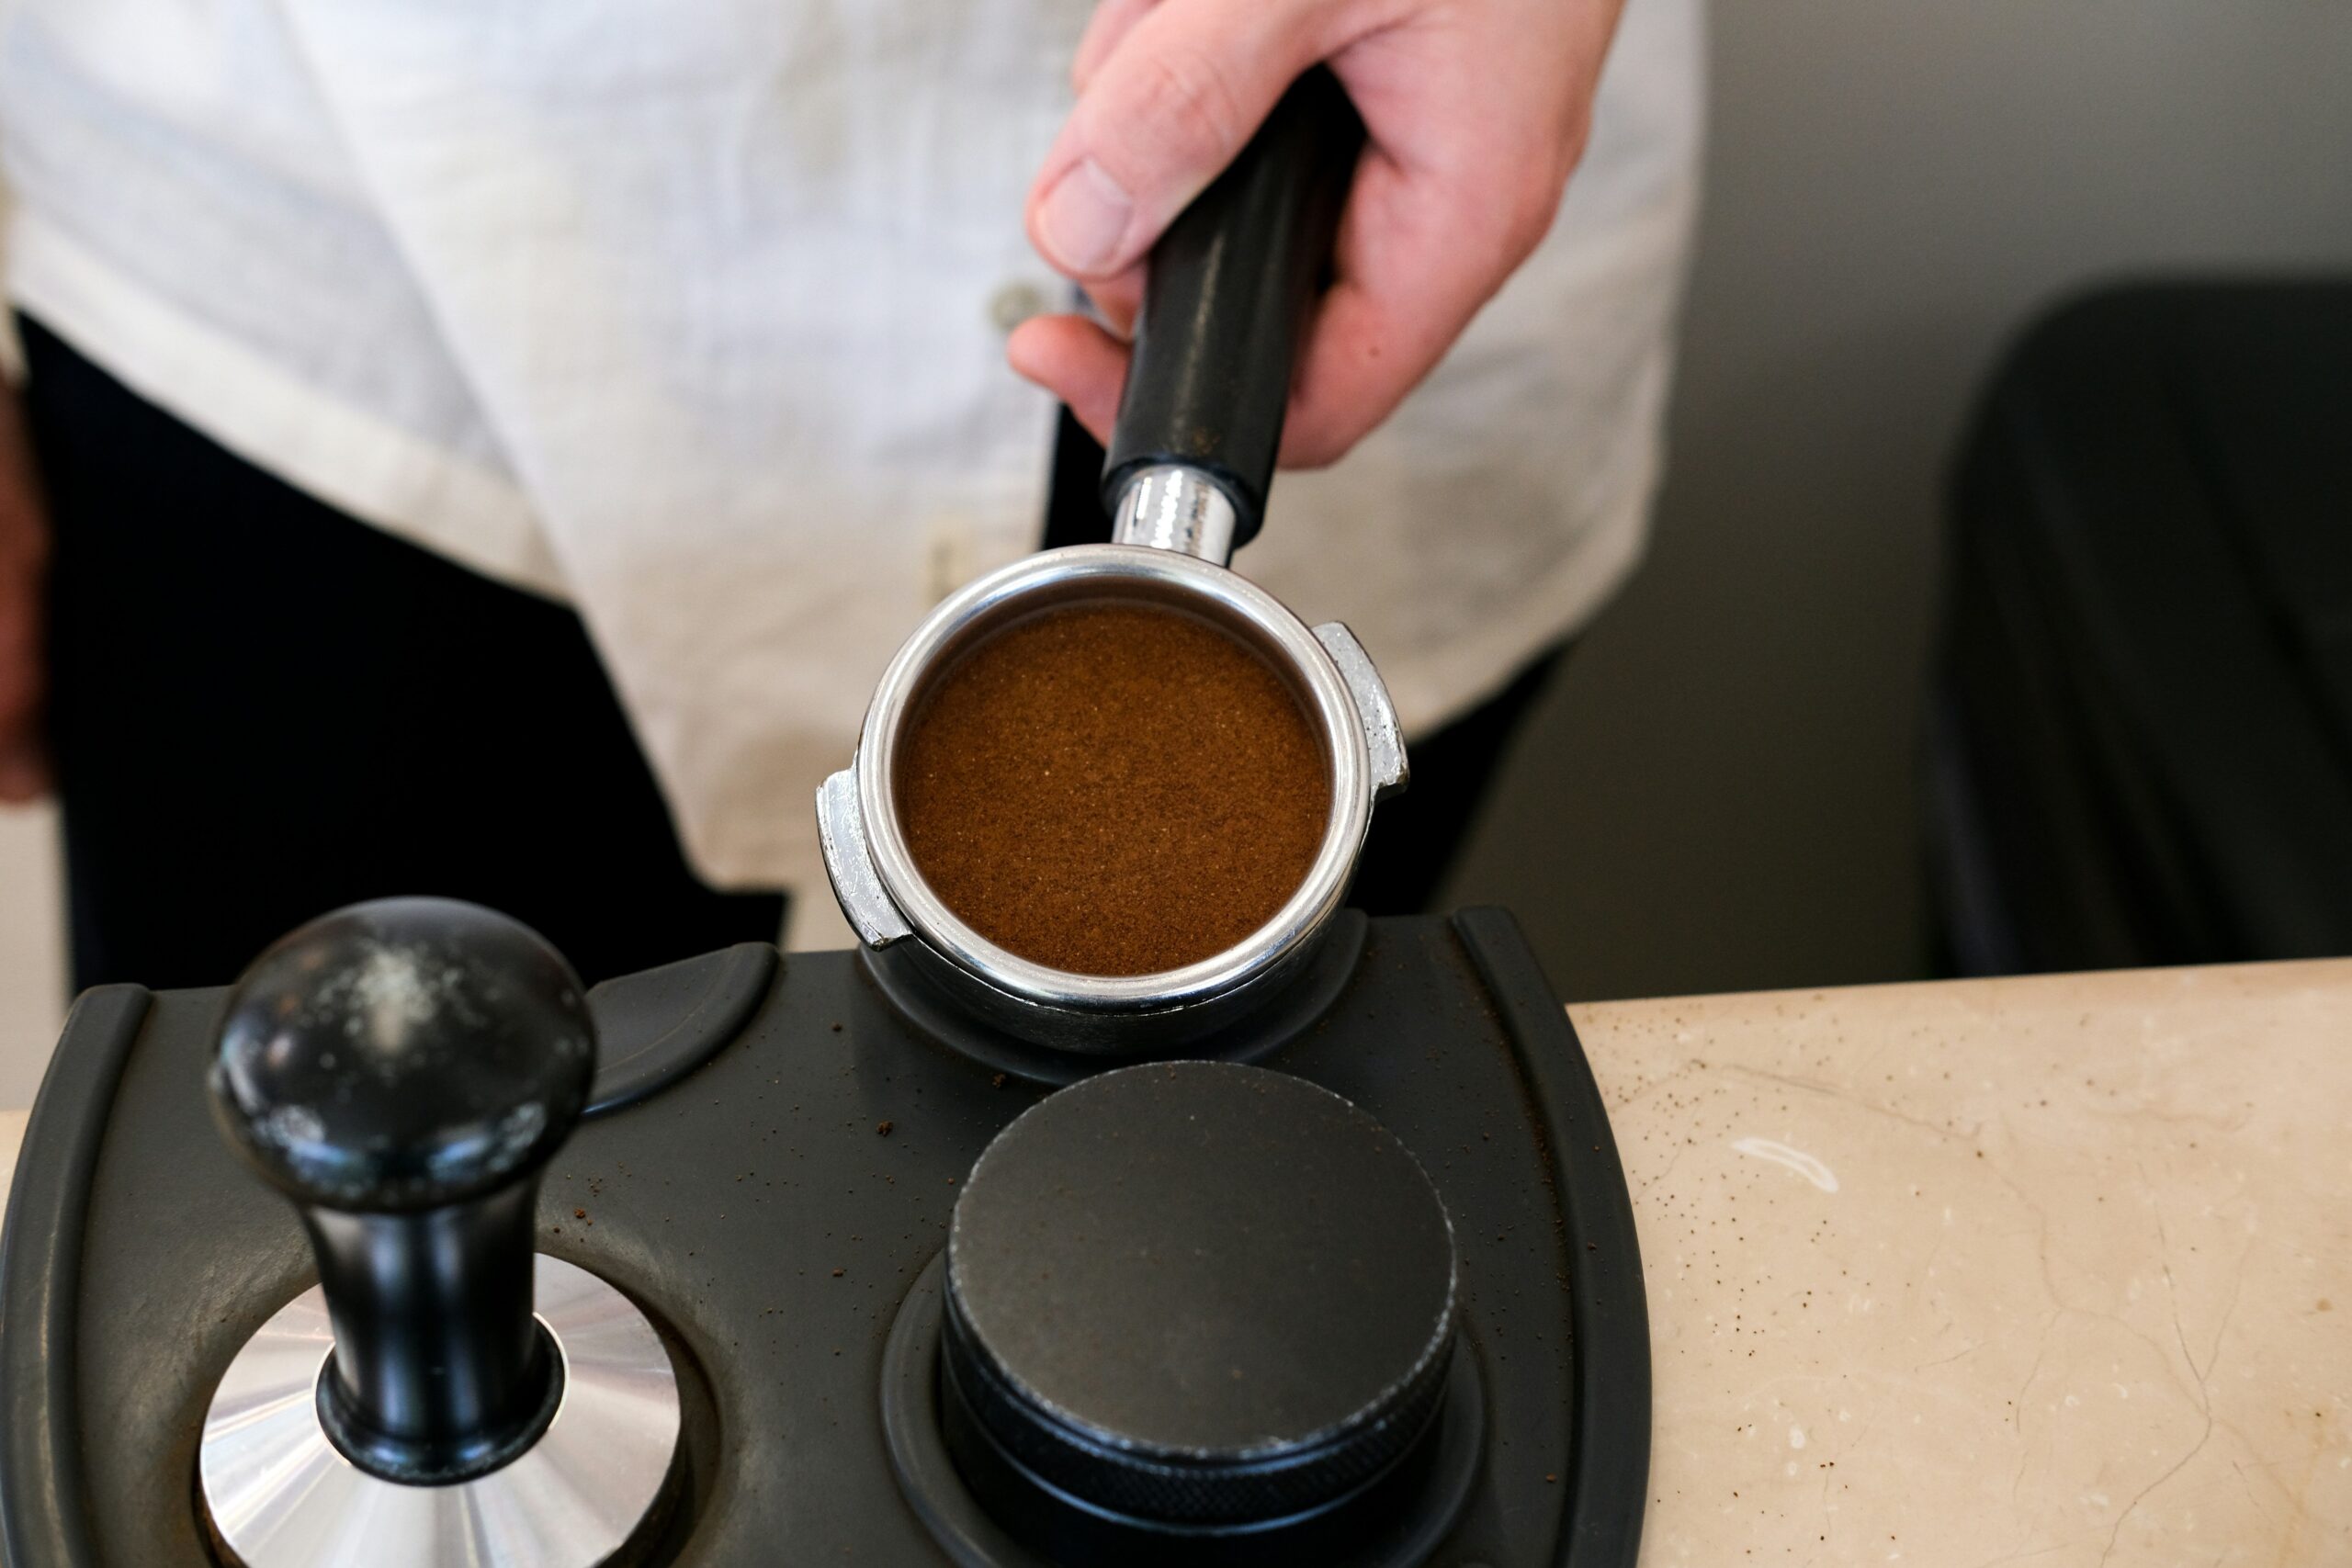
- Step 2: Remove the Old Filter. Gently lift out any remaining grounds and toss the used filter into the compost bin. If it’s reusable, rinse it thoroughly under warm water before drying.
- Step 3: Check Compatibility. Does your smart coffee maker need reusable metal filters, standard paper ones, or something fancier? Refer to the manual—or Google frantically if you lost it.
- Step 4: Insert the New Filter. Align it properly inside the basket to avoid leaks during brewing.
- Step 5: Add Fresh Grounds. Pro tip: measure according to your preferred strength for maximum satisfaction.
- Step 6: Run a Test Brew. Confirm everything works smoothly before starting your day.
Tips for Keeping Your Smart Coffee Maker Happy
A wise person once said, “A happy coffee maker equals happy mornings.” Here are three golden rules for success:
- #1: Stick to a Schedule. Whether daily grind enthusiasts or weekend warriors, create a habit of checking and replacing filters as needed.
- #2: Invest in Quality Filters. Cheap filters might seem economical upfront, but they often tear easily or allow sediment through, ruining your perfect cup.
- #3: Don’t Forget Regular Deep Cleans. Pair filter changes with descaling sessions every few months for peak performance.
Terrible Tip Warning:
Some blogs suggest using makeshift filters like napkins when you run out of actual ones. Please don’t. Your coffee maker will hate you, and so will your taste buds.
Examples of What Happens When You Skip Filter Replacement
Rant time: Remember Sarah? She ignored her Keurig’s persistent “descale now” notifications and kept reusing paper filters way past their prime. Fast forward six months—she had to shell out hundreds for repairs after mineral buildup fried her heating element. Ouch.
On the flip side, consider Jake, a meticulous tech geek who replaced filters religiously every week. Guess what? His smart coffee maker still performs beautifully four years later, serving creamy lattes and robust espressos like clockwork.
FAQs About Replacing Coffee Filters
Q: How Often Should I Replace My Coffee Filters?
For single-use paper filters, always swap them out after each brew. For reusable options, aim for weekly cleaning or whenever buildup becomes noticeable.
Q: Can I Use Any Type of Filter in My Smart Coffee Maker?
Nope! Each model has unique requirements. Using incompatible filters could cause leaks, overflow, or worse—machine malfunction.
Q: Are There Eco-Friendly Alternatives?
Absolutely! Reusable stainless steel or mesh filters not only reduce waste but also enhance flavor profiles by allowing natural oils to pass through.
Conclusion
So, there you have it—a foolproof guide to mastering “replacing coffee filters” in your smart coffee maker. From understanding its importance to executing seamless swaps, following best practices, learning cautionary tales, and answering FAQs, we’ve covered all bases. Now go forth, brew boldly, and keep those filters fresh!
And hey—here’s a parting haiku to brighten your day:
Fresh grounds meet hot water,
A warm hug in liquid form,
Replace the filter.

